Sunday, February 24, 2013

North American Handmade Bicycle Show | Denver 2013

It's winter in Colorado and today we were under blizzard conditions here in Boulder County.  I haven't had much of a chance to take the mountain bike out at all in 2013 and it's been tough to find things to do indoors.  Thankfully Denver came through this weekend by hosting this years North American Handmade Bike Show.

This was my first time attending and I'm so glad I took the time to experience one of the coolest shows to come through town.  The show was very well attended and at times at certain booths it was elbow to elbow, especially at the Boo booth.  I also noticed that the Fat Bikes were getting a lot of attention, perhaps because the show was in Denver or maybe this is the new direction we're headed and we'll all be replacing our worn out standards with Fatties.  Maybe not but I know someone who'll be adding one to their collection.  

I wasn't prepared to give a play by play of my day in bicycle wonderland but I did snap some pictures of some of the coolest and most interesting items on display.  Here are some of my favorites from the show; enjoy.


Coolest Fat Bike


Coolest Fat Bike (wood)


Most Unusual

Best for Trail Work

Most Impractical

Coolest Display

Most Lustrous

Coolest Wood

Most Beautiful

Coolest Booth

Artists Favorite

Simple yet Sophisticated
 

Sunday, February 3, 2013

Rabbit Mountain: They Call Me The Breeze


Great tune by Lynyrd Skynyrd and a great way to describe Rabbit Mountain's Eagle Wind trail.  This is a low impact, low risk trail that is perfect for those novice riders seeking rougher terrain not typically found in town. 

I forgot how much fun Rabbit Mountain was.  The very first time I tried this trail was shortly after moving here from Houston and I remember that I could barely make it 30 yards up the first climb before I had to stop and catch my breath.  Since then I’ve come to appreciate the subtleties of Rabbit Mountain and the Eagle Wind Trail loop.  This trail may not offer much of a challenge to a seasoned rider but for someone who loves rugged terrain it won’t matter.  At a moderate to slow pace this trail will test your balance, line selection and bike control.  My favorite part of this trail is the rugged terrain and mild slopes-once on the Eagle Wind Trail loop. 

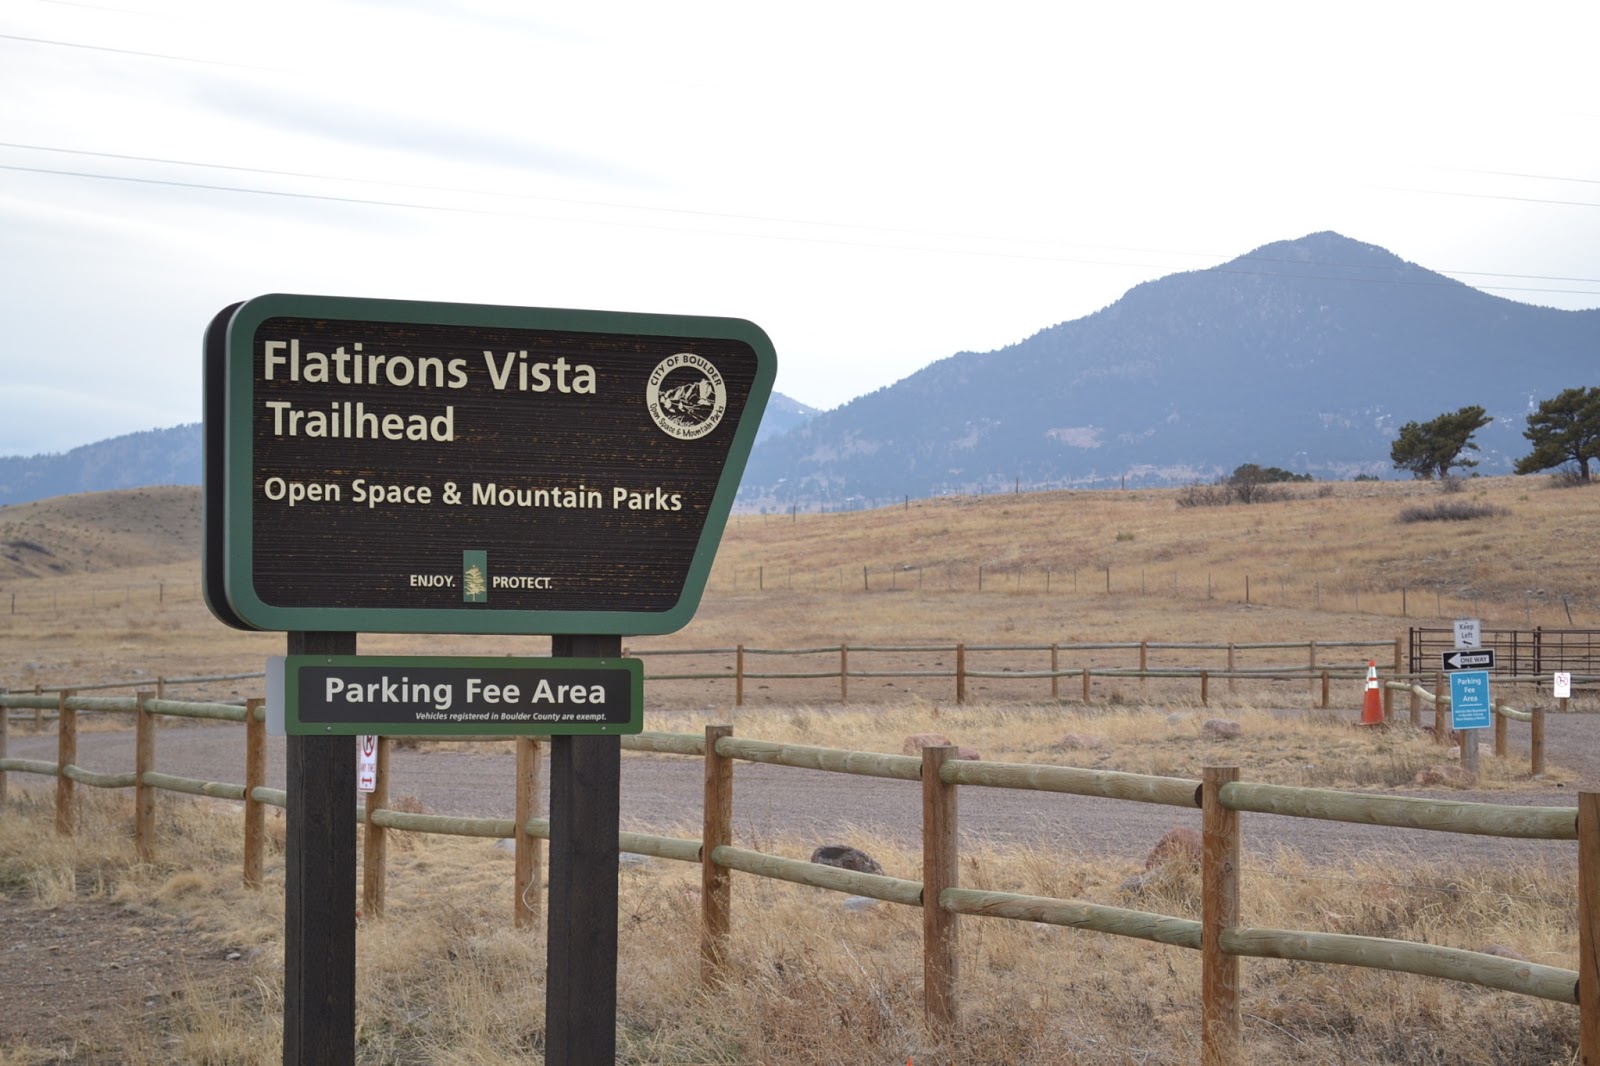
From the parking lot you can tell that there is not a lot of atmosphere around the area but don’t be fooled, there is much more to this trail than meets the eye.  The first, and perhaps the only real climb, is right out of the parking lot.  It’s half a mile of well groomed gravel road leading you to the trailhead.  If you’re new to mountain biking or from lower elevation, take it slow and stop if you need to, you don’t want to wear yourself out here.

At 0.51 miles you reach the trailhead, off to the right, leading up to Eagle Wind Trail loop.  For 0.44 miles you have an easy to moderate climb, depending on your skill level, on rugged single-track.  Most rocks are embedded in the trail but there’s still plenty of the loose stuff too.  This trail can get busy with hikers so yield as always although I find that most hikers are happy to yield to bikers.  This section is rather mild by Colorado standards but for a beginner it should start to test your skills.  Also, make sure you have a flat tire repair kit because there can be cactus needles to deal with.

You’ll reach the start of Eagle Wind Trail at 0.95 miles; I chose to go right.  I just love the idea of my tires grabbing the terrain and sinking those nobbies into the dirt, negotiating rocks, pointing that front tire right where it needs to go.  Now it may seem by my description that the trail is a bit too rugged for a beginner but quite the opposite, it is absolutely rideable at any skill level, just remember to wear a helmet.

For the next 1.92 miles you’ll roll over some unique terrain.  You have a lot of embedded rock and they come in a variety of sizes.  With minimal elevation changes, you have a perfect trail to practice line choice and you’ll want to choose the path of least resistance.  From time to time you’ll have the opportunity to shift your weight to get over some of the larger rocks.  Also, pay close attention to your pedals and try to avoid smashing them against the rocks.  Try and keep a steady pace and see if you can make it all the way without setting your feet down.  I found using a wheelie to place your front tire was helpful in a few areas.

At a moderate to slow pace, this is a great trail to also test your balance.  When I’m not on our beautiful trails, I’ll practice my balance in my driveway by bringing my bike to a complete stop and using my weight and handlebars to keep my balance; you will not believe how helpful this is when you’re out on the trail.  Take some time to enjoy the scenery while you're out here and keep your eyes peeled for the occasional Red Tail Hawk or Golden Eagle; they are often seen in this area.

You’ll complete the loop at 2.87 miles.  For a longer ride, try riding back in the opposite direction; should make for a pretty good ride the more mileage you add.  When you finally decide to head down, this section can add some difficulty the more speed you carry-remember to yield to other trail users.  Keep your weight centered and your eyes on the trail, feather the brakes and this should be a piece of cake.

So I’m now at 3.31 miles into my ride and back at the dirt road.  Now all mountain bikers can appreciate the speed and sensation of rolling downhill and you’ll be greeted with an opportunity here to let the good times roll but be very careful because the gravel is loose and you don’t want to lose control here.  Always yield to others and stop if you must to let others go by.

It was a very short but delightful ride and you can follow along at connect.garmin.com/activity/268836312; these maps provide some very useful information and will certainly prepare you for your ride.  Rabbit Mountain is the perfect trail for the new mountain biker and it’s so close to town that you could do a quick run and still be back by lunch.

Thanks for checking in and happy trails....AR

Sunday, January 27, 2013

Flatirons Vista: One For All


Flatirons Vista trailhead is just off Highway 93 (S. Foothills Highway) and South of the intersection of Hwy 93 and Hwy 128 (W 120th).  This is a parking fee area so if you wish to avoid the fee (although it does help to keep our parks and open space clean and clear) you may want to consider parking at the Greenbelt Plateau trailhead at the intersection of Hwy 93 and Hwy 128.

It was a very pleasant afternoon, the air temperature was in the 50’s and clouds kept the sun hidden for most of the day.  A bit chilly for shorts with all the cloud cover, but not a big deal if you take a light wind jacket and warm layers up top.

At the trailhead you have two options and I chose to stay left at every trail junction for the first 2 miles or so.  The first mile is a very gradual climb that flattens out as you roll along.  It’s a little rocky but mostly pebbles; your tires could lose a little traction but it's perfect for testing your balance.  At 0.96 you reach your first junction and I stayed left along more rocky tread.  From this point to the 2.33 mile mark you’ll be traveling on rocky tread at first then nice hard pack as you meander through the trees.  This trail is very popular with hikers and their 4-legged friends so please yield to other trail users.

At 2.33 miles, I went left on a slight descent through one of my favorite parts of the trail.  It’s just over a half-mile long but you’ll roll over nice single-track, threading through pine trees as you hug the edge of the Doudy Draw trail.  At the switchback the trail continues at a much steeper slope.  The trail is loose and larger rocks are present so stay in control or dismount if necessary.  This is a good winter practice spot for climbers and I know I really appreciate those who yield as I’m climbing this section.  It isn't long before you reach a short mild climb once past the small bridge at the bottom.  This gentle climb takes you to the next trail junction; left leads you to the Spring Brook loop.  I chose to go right here back down Doudy Draw to the Community Ditch trail.

So now I’m 4.04 miles into my ride and the Community Ditch trail is off to my right.  You'll cross a small bridge over a running stream and this time of year you'll find the surface frozen as water flows underneath.  Head right on a dirt road that runs along this small waterway leading you to a Hwy 93 crossing.  For almost 2 miles you’ll roll along a flat dirt road with spectacular views of the Boulder Flatirons.  The landscape is open with a few head of cattle to lighten up the mood.  Cross over Hwy 93, where you’ll catch the Greenbelt Plateau trail, just to the right across the street.  This can be a busy highway at times so cross with caution.

Throughout this ride you have multiple cattle gates to pass, just make sure you secure them once you’re through.  You’ll have another one here as you catch the Greenbelt Plateau trail.  The trail climbs mildly for 0.76 miles; the trail is well groomed so you shouldn’t have any problems here.  If you’re from lower elevations, a climb like this could be tiresome-I am and it took me a few rides to finally get comfortable but then I am a little asthmatic. 

At 6.63 miles the trail levels off and throughout this section you can either continue on the dirt road or if you’re like me and you can’t get enough single-track, you can take the narrow single-track that follows right along the dirt road.  The trail descends ever so slightly but enough to get your wheels rolling pretty good.  One word of caution though; some rocks will offer minimal clearance between them and at least 3 times my pedals and feet made connection resulting in a toe smash inside my shoe.  Off to the left you'll see Marshall Lake as you make your way to the Greenbelt Plateau trailhead where I went right towards Hwy 93 again.  Cross the Hwy then take the well groomed trail down to the Flatirons Vista parking lot. 

This is a really nice beginner trail with some technical sections that may require a little experience.  If you’re just out for a little fun, you can skip the Doudy Draw, Community Ditch and Greenbelt Plateau sections and go right at the 2.33 mile trail intersection.  Going right will take you back to the Flatirons Vista parking lot and/or the Greenbelt Plateau parking lot.  Check out connect.garmin.com/activity/266350266 for some trail statistics to help you plan your ride.  This is a great ride if you have some visitors coming to town who would enjoy spectacular views of our Boulder Foothills.  Our weather can change in an instant this time of year but when dry conditions exist, you just can’t keep cyclists at home.  Thanks for checking in and hope to see you on the trails.

Alan Romero

Monday, January 21, 2013

Hall Ranch / Prelude to a Fawn


One of my favorite Debussy pieces has to be Prèlude à L’après-midi d’un Faune (Prelude to the Afternoon of a Faun).  It's the perfect theme for exploring the outdoors and the perfect soundtrack for my ride this past weekend.

It has been extremely cold lately and the mountain bikes have been hanging in the garage getting little, if any, use.  This weekend however we were greeted with 50 degree weather and I was not going to let this weekend go by without sinking some nobbies into the dirt.  I checked my favorite local websites for trail conditions and I was glad to see a couple of my favorites may be dry and clear.  I decided on Hall Ranch and this time I would map Bitterbrush and Nelson Loop.

The weather was perfect but I still wore some cold weather layers just in case it got cold up top.  In my earlier posts I described the lower half of the trail and this time out was no different.  The first 0.80 miles is well groomed with a couple of rocky areas but nothing too difficult.

At 0.80 miles you cross a service road and begin the most difficult part of the trail.  From here to about the 2 mile mark you’ll cross one heck of a boulder garden with very challenging terrain.  If you’re not used to this type of terrain don’t experiment here, dismount so you can enjoy the rest of the ride.  The service road is restricted to mountain bikers unless you have an emergency so you don’t have much of a choice; just take your time and be careful.

At the top you’ll come up to a nice resting spot with a bench and nice open view of the mountains.  From here to about the 2.5 mile mark you’ll be delighted with a smooth winding downhill speed section.  This is new and we should thank our trail builders for such a fine job.  You can pick up a ton of speed here but please make sure you yield to other trail users and bikes climbing in the opposite direction.  You’ll come to a trail junction with Antelope trail and if you’re going to tackle Nelson Loop you’ll need to go left.

It’s a really smooth open single track up to the 3.82 mile mark.  This steady climb should be no problem unless you’re like me and let your fitness slide over the cold winter days.  The trail is really smooth with very few rocks.  You’ll have a little shade closer to the loop but most of this section is exposed and today the sun was nice and toasty.

You’ll reach the Nelson Loop at the 3.82 mile mark and from here I chose to start the loop to the left.  This is a well groomed mild climb and today snow still covered part of the landscape.  Parts were wet and frozen with little mud-perfect for sinking those waiting nobbies.  At around the 4.25 mile mark you’ll come to a small bridge.  Perched over a small stream, this is a great resting spot with great views so make sure you have your cameras.

The climb will continue for another half mile till you reach the intersection of Nelson Loop and Nighthawk trail at the 5 mile mark.  It was here that I came across a small group of deer enjoying the company of mountain bikers and hikers.  While the bucks retreat to the wooded areas, the fawn’s stood just feet from the trail as I rode by.  At around 4.5 miles I rode down to the Nelson farm house-if this is your first time, take a few minutes to ride down and have a look.

So at the Nighthawk, Nelson Loop intersection the trail heads down.  Today since the trail was under a bit of snow I had to take it a little slower than I normally would.  There aren’t many rocks but it will run through the trees and nobody wants see them up close at high speed.  In the summer this section is one heck of a good time and worth the climb.

At about the 6.25 mile mark you should be back at the trail junction for the descent to the Antelope, Bitterbrush intersection.  You can reach some mind blowing speed just make sure you yield as with all descents.  So you’ll have the final climb back to the resting spot then back down the rock garden-I was tempted to take the service road but I didn’t want to break the rules so back down the hard way.

It was a great afternoon and the perfect escape from the daily grind.  As always, follow along at connect.garmin.com/activity/263899231 and use the map information to plan your next trip.  A little preparation ahead of time can make all the difference.  I wish I had this kind of information back in the day, I can’t tell you how many times my brother and I drove out to ride only to find the terrain far too difficult.

Get out and ride! 

Alan Romero
HAPPY BIRTHDAY DAD - From Kelly and I

Thursday, December 13, 2012

Tech Tip: Proper Chain Lubrication | News | mountain-bike-action

A Penny-Farthing is a great example of the symbiosis between man and machine; a bicycle propelled by nothing more than geometry and a willing participant, often ridden in your Sunday's best.  You'll recognize these bikes by the conspicuously large front wheel and less unusual rear wheel.  The bikes' cranks were mounted directly to the front wheel hub and moved you forward with each rotation of the pedals.

Bikes of course have evolved since then and arguably one of the greatest innovations to influence bicycle design is the drive chain.  Today, a bike without a chain is merely a conveyance and a rather primitive one at that unless pointed downhill.  The modern chain has helped transform the way a bike is engineered and is often one of the most ignored components on a bike.

My history with chain maintenance goes way back.  I grew up about an hour from the coast and if you didn't take the time to care for your chain you'd find yourself riding Fred Flintstone style.  Keeping your chain in good condition has many benefits and will extend the life of your chain.  Personally, I clean mine after every ride especially after a day of water crossings and mud puddles.  I'm a bit of a perfectionist when it comes to cleaning my bikes so don't feel like you have to be as obsessed as I am with it.

What you'll need: a wire brush, chain clean spray or degreaser, shop rag or cloth, gloves, nail polish and of course lubricant.

I'll first spray some chain cleaner over the entire chain.  I use a product by Motorex, works great on motorcycle chains too.  I'll then run a wire brush along all sides of the chain, this tends to send particles and drops flying so watch your eyes.  I like to brush until the chain takes on a bit of a shine before rinsing with water.  Once I'm done rinsing, I'll wipe it down with a soft dry cloth before taking a compressor to it to dry those hard to reach places.  I'll usually let the bike sit for a while before applying any chain lube.  I'll lube each individual link then moisten a rag with a little lube and wipe the chain for a clean shiny finish.  Most chains don't have a master link so I'll take a dab of my wife's nail polish and mark a link with a colorful dot to mark my starting point as I rotate the cranks to lube each link.  Sometimes lube will drip if you applied too much so make sure there's nothing you care to keep clean laying underneath.  You can also use dry lube although I'm not a huge fan.  I use Tri-Flow from a drip bottle on all my bikes because it goes on clean and keeps my chain quiet.  Finally, you might not want to lubricate your chain just before riding because it attracts a lot more dirt.

It doesn't take much time for proper chain maintenance so don't put it off too long, especially if you live in an area with high humidity.  I linked an article from Mountain Bike Action Magazine for some visuals to help you get your own routine started.

Check back often and enjoy your rides.  Alan Romero

Tech Tip: Proper Chain Lubrication | News | mountain-bike-action